Are you ready to turn your boring lawn into a vibrant and thriving garden? This ultimate lawn to garden guide will walk you through the process and help you create a stunning outdoor space.
- Transforming your lawn into a garden requires careful planning, including selecting the right location and ensuring adequate sunlight and access to water.
- There are various methods to remove the grass, such as digging it up, using raised bed gardening, or employing the lasagna method.
- Creating a garden bed involves preparing the soil and marking the shape of the bed, followed by considering design elements like color schemes and eye-catching features.
- Enhance your garden oasis with layered lighting to create depth and highlight your plants and features.
- Maintain your garden properly by following essential garden maintenance tips, such as watering, fertilizing, and pest control.
Planning Your Garden Conversion
Planning is the key to a successful lawn to garden conversion. Follow these tips to ensure you create the perfect garden bed in the right location.
First, consider the sunlight requirements of the plants you wish to grow. Most vegetables and flowers need at least six hours of direct sunlight per day. Take note of the areas in your lawn that receive the most sunlight and choose a location for your garden bed accordingly.
Convenient access to water is also essential for your garden’s success. Ensure that your chosen location is within reach of a water source, whether it be a hose or irrigation system. This will make it easier to water your plants and keep them properly hydrated.
Once you have identified the ideal location, it’s time to mark out the shape of your new garden bed. You can use a garden hose or a rope to outline the desired shape. This will help you visualize how the garden will fit into your existing landscape. Don’t be afraid to get creative and experiment with different shapes and sizes that suit your preferences.
Table 1: Pros and Cons of Different Lawn Conversion Methods
| Lawn Conversion Method | Pros | Cons |
|---|---|---|
| Digging up the grass | – No additional materials required – Complete removal of grass | – Labor-intensive – Requires disposal of grass |
| Raised bed gardening | – Easy installation on top of grass – Improved drainage and soil quality | – Requires additional materials (e.g., soil, lumber) – Limits root depth for certain plants |
| Lasagna method | – Utilizes organic materials for soil improvement – No need to remove grass | – Takes time for the layers to break down – May attract pests during decomposition |
Next, you’ll need to decide how to remove the grass from your lawn. There are several methods you can choose from:
- Digging up the grass: This method involves physically removing the grass using a shovel or sod cutter. It can be labor-intensive, but it ensures complete removal of the grass.
- Raised bed gardening: With this method, you create a raised bed on top of the grass. This eliminates the need to remove the grass and improves drainage and soil quality.
- Lasagna method: This technique involves layering organic materials such as cardboard, grass clippings, and leaves over the grass. Over time, the grass will decompose and enrich the soil.
Choose the method that best suits your preferences, resources, and the size of your lawn. Remember that each method has its own pros and cons, as outlined in Table 1.
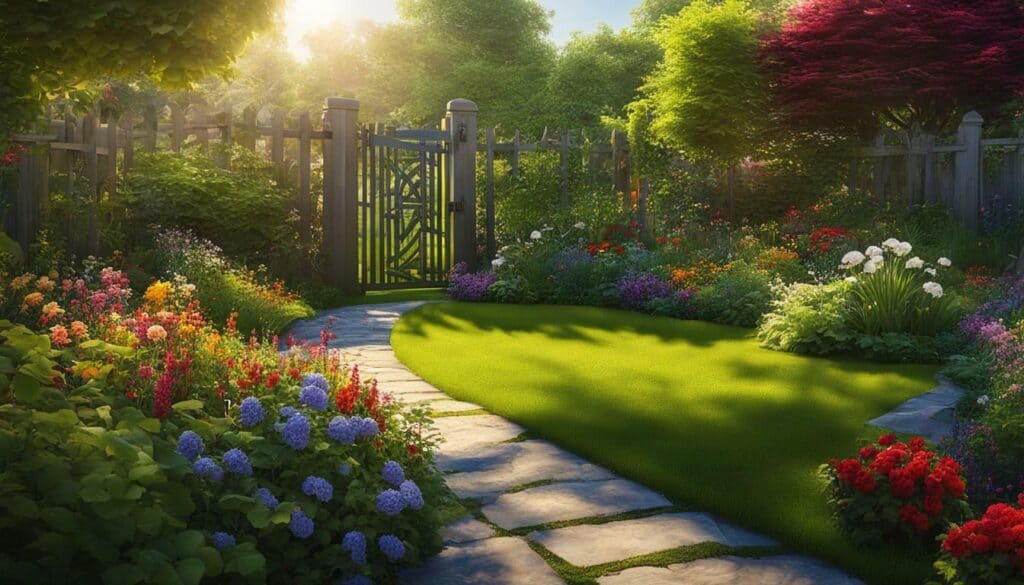
With careful planning and consideration, you’ll be on your way to transforming your lawn into a beautiful garden bed. The next sections will guide you through the process of creating the garden bed and designing your garden oasis. Stay tuned!
Removing the Grass
You have several options for removing the grass from your lawn. Let’s explore the different methods to help you get started on your garden transformation.
One method to remove the grass is simply digging it up. This can be done by using a shovel or a garden fork to loosen the soil and lift the grass roots. It’s important to remove as much of the grass and its roots as possible to prevent regrowth. This method is suitable for smaller lawns or areas with manageable grass coverage.
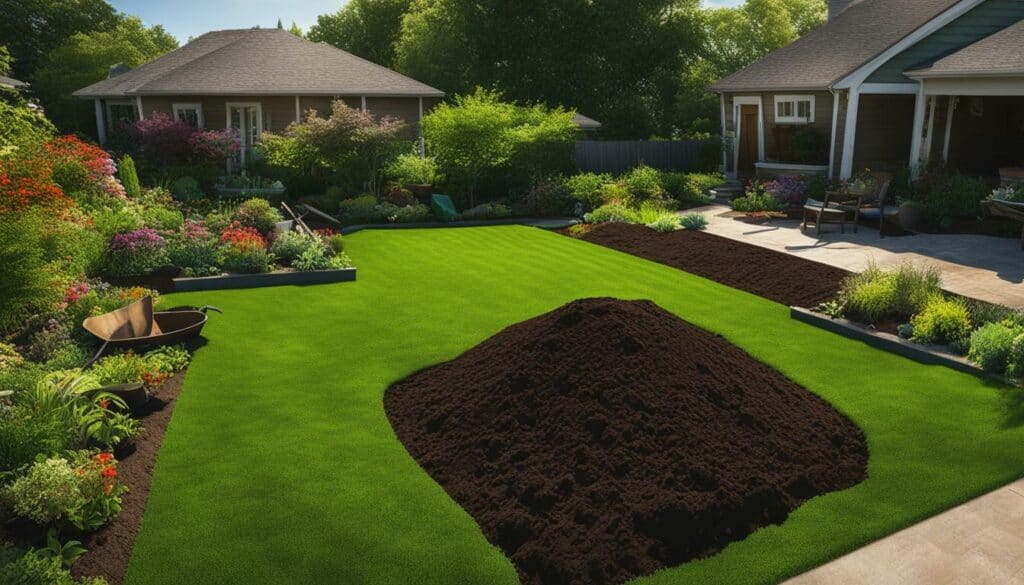
Another option is raised bed gardening. This method involves creating a garden bed on top of the grass. First, mark the shape of the new bed using a hose or rope. Then, build a raised bed structure using materials such as wood, bricks, or stone. Fill the raised bed with a mixture of soil, compost, and other organic matter. This method allows for easy installation and provides optimal growing conditions for your plants.
The lasagna method is an alternative way to kill off the grass. This method involves layering cardboard, grass clippings, and leaves over the grassy area. The layers create a barrier that blocks sunlight and suffocates the grass. Over time, the grass decomposes and enriches the soil, making it ready for planting. The lasagna method is effective for larger areas and takes advantage of organic materials already available in your garden.
Creating the Garden Bed
Creating a garden bed requires careful attention to detail. Follow these step-by-step instructions to create a beautiful and productive garden space.
1. Choose the location: Select an area in your lawn that receives ample sunlight and is convenient to a water source. This will ensure that your plants thrive and are easily accessible for watering.
2. Remove the grass: There are several methods to remove the grass from your chosen area. One option is to dig up the grass using a shovel or garden fork. Alternatively, you can outline the shape of your new garden bed using a hose or rope, then cut away the grass along the marked edges. Another option is raised bed gardening, where you can build a raised container on top of the grass and fill it with soil.
3. Kill off the grass: The lasagna method is a popular and effective way to kill off the grass. First, layer cardboard or newspaper over the grassy area, ensuring complete coverage. Then, add a layer of grass clippings, leaves, or compost. Repeat these layers until you have created a thick, layered barrier. Over time, the layers will break down, smothering the grass and creating a nutrient-rich soil for your plants.
Once you have removed the grass, it’s time to prepare the soil for planting. Add compost or organic matter to enrich the soil and ensure optimal growth for your plants. Now your garden bed is ready to be filled with the plants of your choice, creating a beautiful and productive garden space.
Designing Your Garden Oasis
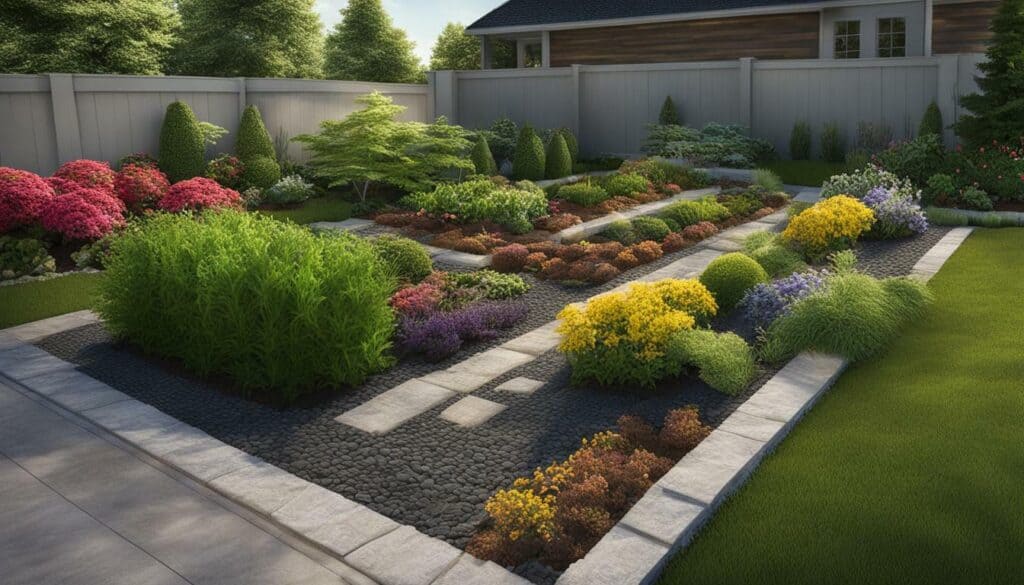
Designing your garden oasis is an exciting part of the lawn to garden conversion process. Let’s explore some design elements that will help you create a stunning outdoor space.
When it comes to color schemes, think about the mood you want to create in your garden. Bright and vibrant colors like reds, yellows, and purples can evoke a sense of energy and excitement, while soft pastel shades can create a soothing and tranquil atmosphere. Consider incorporating a variety of colors to add visual interest and balance to your garden.

| Eye-Catching Features: | Grasses and Organic Furniture: |
|---|---|
|
|
Layered lighting can play a significant role in creating a magical atmosphere in your garden. By combining different types of lighting, you can add depth and highlight specific features. Use soft, warm lighting to create a cozy ambiance, and accent lighting to showcase your favorite plants or architectural elements. Solar-powered lights can be an environmentally-friendly option that adds a touch of enchantment to your garden.
Remember, designing your garden oasis is a personal journey, so let your creativity flow and experiment with different elements to create a space that reflects your unique style and preferences.
Enhancing with Lighting
Don’t underestimate the power of lighting in your garden. Learn how to use layered lighting to enhance and transform your outdoor space. Proper lighting can create a magical atmosphere, highlighting your plants and features during both day and night.
Layered lighting involves strategically placing different types of lights at various heights and angles to create depth and add visual interest. Start by installing ambient lighting fixtures, such as string lights or lanterns, to provide overall illumination to your garden. These soft, warm lights create a cozy and inviting atmosphere.
Next, include task lighting to highlight specific areas or elements in your garden. Use spotlights or uplights to accentuate focal points like statues, architectural features, or vibrant plants. By directing focused light on key elements, you can create dramatic shadows and emphasize texture.
Finally, consider adding decorative lighting to add a touch of whimsy and charm to your garden. Fairy lights, decorative lanterns, or solar-powered pathway lights can create a magical ambiance, especially in the evening. Experiment with different lighting fixtures and placements to achieve the desired effect and create a garden that comes alive after sunset.
| Type of Lighting | Suggested Placement |
|---|---|
| Ambient Lighting | Hang string lights or lanterns above seating areas or pergolas for a warm and inviting glow. |
| Task Lighting | Position spotlights or uplights to highlight statues, water features, or architectural elements. |
| Decorative Lighting | Place fairy lights in trees or bushes, or use decorative lanterns to create a whimsical atmosphere. |
Garden Lighting Ideas
- Solar-powered pathway lights: These environmentally-friendly lights are easy to install along garden paths or walkways, creating a charming and safe passage through your garden.
- Hanging outdoor lanterns: These versatile lanterns can be hung from trees or pergolas, providing a soft and romantic glow for outdoor dining areas or sitting spots.
- LED spotlights: Use these energy-efficient lights to highlight unique garden features such as sculptures, colorful plants, or architectural details.
- Fairy lights: Drape these delicate twinkling lights across fences, pergolas, or even tree branches for a magical and enchanting garden setting.
- Water feature lighting: Illuminate your water features with underwater or above-water lights to create a stunning focal point that captures the beauty of flowing water.
With layered lighting and creative use of different fixtures, you can transform your garden into an illuminated wonderland. Experiment with different placements and combinations to find the perfect lighting design that suits your garden’s style and brings your outdoor space to life.

Your garden requires regular care and attention to ensure its continued success. Follow these maintenance tips to keep your garden thriving.
Watering
Proper watering is key to maintaining a healthy garden. Water your plants deeply and infrequently, allowing the soil to dry out slightly between watering sessions. Avoid watering during the heat of the day to prevent evaporation. Consider installing a drip irrigation system or using a watering can to target the plants’ roots directly. Monitor the moisture levels in the soil and adjust your watering schedule accordingly.
Weeding
Keep those pesky weeds under control to maintain the beauty of your garden. Regularly inspect your garden beds and remove any emerging weeds before they have a chance to take root. Use a hand weeder or hoe to carefully uproot the weeds, ensuring you remove the entire root system. Applying a layer of mulch around your plants can help suppress weed growth and retain moisture in the soil.
Pruning and Deadheading
Pruning is essential for promoting healthy growth and maintaining the shape of your plants. Regularly inspect your garden for any damaged, diseased, or dead branches and prune them back to encourage new growth. Deadheading, the removal of spent flowers, also helps redirect the plant’s energy towards new blooms. Use clean and sharp pruning tools to prevent the spread of diseases.
Fertilizing
To ensure your plants receive the necessary nutrients, fertilize them regularly during the growing season. Choose a slow-release organic fertilizer or compost to provide a gradual and balanced supply of nutrients. Follow the instructions on the package for application rates, and avoid over-fertilizing, as it can lead to nutrient runoff and harm the environment. Regularly check the health of your plants and adjust the fertilization schedule as needed.
| Maintenance Task | Frequency |
|---|---|
| Watering | Varies based on plant needs and weather conditions |
| Weeding | Weekly or as needed |
| Pruning and Deadheading | As needed throughout the year |
| Fertilizing | Every 4-6 weeks during the growing season |
By implementing these maintenance tips, you’ll be well on your way to creating a thriving and beautiful garden. Enjoy the rewards of your hard work as you watch your garden flourish and grow.
Harvesting the Fruits of Your Labor
It’s time to reap the benefits of your hard work. Discover how to harvest your garden produce and enjoy the delicious flavors of your homegrown fruits and vegetables.
When it comes to harvesting your garden, timing is crucial. Each type of fruit or vegetable has its own optimal harvesting time, ensuring the best taste and nutritional value. Keep an eye on your plants as they mature, checking for signs of ripeness such as color changes or firmness. Use a sharp knife or pruners to carefully harvest your produce, taking care not to damage the plant or surrounding fruits.

Once you’ve harvested your fruits and vegetables, it’s important to handle them with care. Wash your produce thoroughly to remove any dirt or debris. For delicate fruits like berries, gently rinse them under cold water and pat them dry with a clean towel. Sturdier vegetables can be scrubbed with a brush to remove any soil residue.
To maximize the freshness and flavor of your harvest, store your fruits and vegetables properly. Some produce, like tomatoes and cucumbers, are best kept at room temperature. Others, such as leafy greens and berries, should be stored in the refrigerator to maintain their crispness. Consider investing in proper storage containers or using zip-top bags to keep your produce fresh for longer.
| Fruit/Vegetable | Optimal Harvest Time | Storage Tips |
|---|---|---|
| Tomatoes | When fully colored and slightly soft | Store at room temperature away from direct sunlight |
| Carrots | When roots are firm and vibrant in color | Remove greens and store in a plastic bag in the refrigerator |
| Strawberries | When fully red and slightly soft | Store in a single layer in the refrigerator and wash just before consuming |
| Lettuce | When leaves are crisp and full | Wrap in a damp paper towel and place in a sealed bag in the refrigerator |
With your garden harvest in hand, it’s time to enjoy the fruits of your labor. Incorporate your freshly picked produce into your meals to savor the amazing flavors and nutritional benefits. Whether it’s a simple salad with homegrown lettuce and juicy tomatoes or a berry-packed smoothie, let the vibrant colors and delicious tastes of your garden inspire your culinary creations.
Sharing Your Garden Journey
Gardening is not only a personal journey but also an opportunity to connect with others. Learn about the joys of sharing your garden experiences with friends, family, and the larger garden community. When you open up your garden to others, you create a space for inspiration, learning, and community building.
One way to share your garden journey is by inviting friends and family over for a garden tour. Show them the fruits of your labor and share your knowledge and insights about the plants and flowers that thrive in your garden. You can even organize special events like garden parties or workshops to engage and educate others about the joys of gardening.
Another way to connect with the garden community is through online platforms and social media. Join gardening forums, groups, and local gardening clubs to exchange tips, ideas, and experiences. Share photos, stories, and even your gardening challenges, and you’ll find a supportive community that shares your passion for gardening.
By sharing your garden journey, you not only inspire others to start their own gardening projects but also contribute to the collective knowledge and beauty of the gardening community. Whether you’re a seasoned gardener or just starting out, there’s always something to learn and share with others. So don’t hesitate to open up your garden and let others experience the joy and wonder of nature.
| Garden Sharing Ideas | Benefits |
|---|---|
| Organize garden tours | Inspiration and education for others |
| Host garden parties or workshops | Community building and fostering connections |
| Join online gardening communities | Exchange tips, ideas, and support |
| Share photos and stories on social media | Inspire and connect with a wider audience |
Sustainable Gardening Practices
Sustainability is a vital aspect of modern gardening. Explore eco-friendly practices to incorporate into your lawn-to-garden conversion and create a more sustainable outdoor space.
When transitioning from a lawn to a garden, consider using organic and natural gardening methods. Avoid chemical pesticides and opt for organic alternatives. By doing so, you can protect beneficial insects and promote a healthy ecosystem in your garden. Additionally, using compost made from kitchen scraps and yard waste can enrich the soil and reduce the need for synthetic fertilizers.
Another eco-friendly practice to consider is water conservation. Install a rainwater harvesting system to collect rainwater and use it for watering your garden. This not only reduces your water consumption but also helps to conserve this precious resource. Additionally, consider using drip irrigation or soaker hoses to deliver water directly to the plant roots and minimize water waste through evaporation.
Choosing native plants for your garden is another sustainable gardening practice. Native plants are adapted to the local climate and require less water and maintenance. They also provide habitat for native wildlife and help to preserve biodiversity. Research native plant species in your area and incorporate them into your garden design.
Table: Eco-Friendly Gardening Tips
| Tips | Description |
|---|---|
| Compost | Create your own compost from kitchen scraps and yard waste to enrich the soil naturally. |
| Organic Pest Control | Use organic pest control methods to protect beneficial insects and promote a healthy garden ecosystem. |
| Rainwater Harvesting | Install a rainwater harvesting system to collect rainwater for watering your garden and reduce water consumption. |
| Drip Irrigation | Use drip irrigation or soaker hoses to deliver water directly to the plant roots and minimize water waste. |
| Native Plants | Choose native plants that are adapted to your local climate, require less water, and provide habitat for native wildlife. |
By incorporating these sustainable gardening practices into your lawn-to-garden conversion, you can create a beautiful and environmentally friendly outdoor space. Not only will you enjoy the beauty of your garden, but you’ll also contribute to a healthier planet.

You’ve completed your lawn-to-garden transformation journey. Now it’s time to sit back, relax, and enjoy the beauty and tranquility of your newly transformed garden oasis. Throughout this DIY lawn to garden project, you’ve learned the essential steps and techniques to convert your lawn into a flourishing garden.
By carefully planning the location, ensuring ample sunlight and easy access to water, you’ve created the perfect foundation for your garden bed. Whether you chose to dig up the grass, use raised bed gardening, or employ the lasagna method, you’ve successfully removed the grass and prepared the space for your garden.
As you designed your garden oasis, you considered color schemes, eye-catching features, and the use of grasses and organic furniture. Now, with your garden bed ready, take the time to enhance the space with layered lighting. This will create a magical ambiance that highlights your plants and features both during the day and at night.
Maintaining your garden is crucial for its long-term success. By following essential garden maintenance tips, such as proper watering, fertilizing, and pest control, you will ensure that your plants stay healthy and your garden thrives. And when the time comes to harvest the fruits of your labor, you’ll experience the rewarding joy of enjoying the bountiful produce from your very own garden.
FAQ on Lawn to Garden Guide
Q: What factors should I consider when planning to convert my lawn into a garden?
A: When planning to convert your lawn into a garden, it’s important to consider factors such as location, sunlight, and access to water. Choose a location that receives ample sunlight throughout the day and is convenient to a water source.
Q: What are some methods to remove grass when creating a garden bed?
A: There are several methods to remove grass when creating a garden bed. You can dig it up manually using a shovel, or use raised bed gardening to install a garden bed on top of the grass. Another option is the lasagna method, which involves layering cardboard, grass clippings, and leaves to kill off the grass.
Q: How do I create a garden bed from scratch?
A: To create a garden bed from scratch, start by marking the shape of the bed using a hose or rope. Then, remove the grass as per your chosen method. Once the grass is removed, prepare the soil by adding compost and organic matter. Finally, plant your desired plants and water them thoroughly.
Q: What are some tips for designing a garden oasis?
A: When designing a garden oasis, consider the use of color schemes, eye-catching features like fountains, and the incorporation of grasses and organic furniture. These elements can create a calming and immersive garden space that suits your personal style and preferences.
Q: How can I enhance my garden with lighting?
A: Layered lighting can enhance your garden space and create a sense of depth. Consider using different types of lighting, such as pathway lighting, uplighting, and string lights, to highlight your plants and features. Experiment with different lighting placements to create a magical ambiance in your garden.





Leave a Reply