Are you looking for expert guidance to help you with your garden? Look no further! Join me as I uncover the best tips, tricks, and strategies for a thriving garden today! Whether you’re a beginner or an experienced gardener, these garden tips and tricks will provide you with the knowledge you need to create a beautiful and flourishing garden.
Key Takeaways:
- Know your USDA Hardiness Zone to choose the right plants for your garden.
- Prune your spring-flowering shrubs after the blooms fade for optimal growth.
- Select manure that has cured for at least six months to improve soil fertility.
- Understand the light requirements of your plants and provide them with adequate sunlight.
- Use hand-weeding and hoeing techniques for effective weed control.
With these expert gardening advice and tips, you’ll be able to create a thriving garden that you can enjoy and be proud of. Stay tuned for more valuable insights to help you take your gardening skills to the next level!
Understanding Your USDA Hardiness Zone for Successful Planting
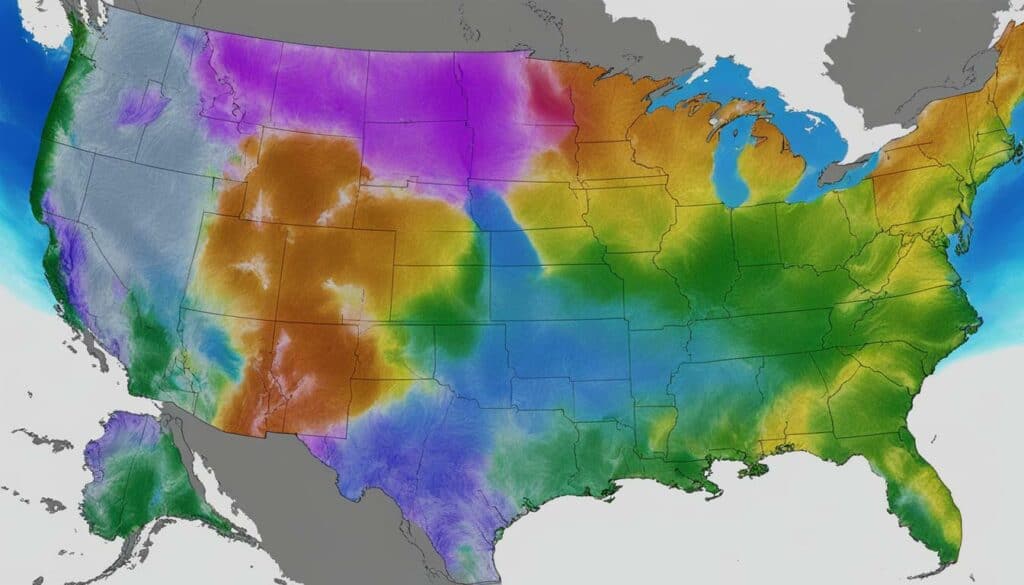
Before you start planting, it’s important to understand your USDA Hardiness Zone and how it can influence the success of your garden. The USDA Hardiness Zone is a classification system that helps gardeners determine which plants are most likely to thrive in their specific climate. By knowing your zone, you can select plants that are better suited to your region’s temperature and weather conditions.
To find out your USDA Hardiness Zone, you can refer to the USDA Plant Hardiness Zone Map. This map divides the United States into different zones based on the average minimum winter temperature. Each zone is labeled with a number, ranging from 1 (coldest) to 13 (warmest). You can easily locate your zone by entering your ZIP code on the USDA’s website.
Once you know your zone, you can use it as a guide for choosing the right plants for your garden. Different plants have different temperature requirements, and selecting varieties that are suitable for your zone will increase their chances of survival and growth. The USDA Hardiness Zone can also help you determine the appropriate time to start planting certain crops, ensuring that they are not exposed to frost or extreme temperatures.
By understanding and utilizing your USDA Hardiness Zone, you can make informed decisions about what to plant and when to plant it, increasing the likelihood of a successful and thriving garden.
| Zone | Minimum Temperature Range (°F) |
|---|---|
| Zone 1 | -60 to -50 |
| Zone 2 | -50 to -40 |
| Zone 3 | -40 to -30 |
| Zone 4 | -30 to -20 |
| Zone 5 | -20 to -10 |
| Zone 6 | -10 to 0 |
| Zone 7 | 0 to 10 |
| Zone 8 | 10 to 20 |
| Zone 9 | 20 to 30 |
| Zone 10 | 30 to 40 |
Summing it Up
Understanding your USDA Hardiness Zone is an essential step in successful gardening. By knowing your zone, you can select plants that are best suited to your climate and ensure they have the best chance of thriving. Refer to the USDA Plant Hardiness Zone Map to determine your zone based on your location’s average minimum winter temperature. Utilize this information to choose plants that can withstand your region’s specific conditions, and plant them at the appropriate time. With knowledge of your USDA Hardiness Zone, you can create a garden that flourishes and brings you joy.
Pruning Tips for Maintaining Healthy Shrubs
After the blooms fade, it’s important to prune your spring-flowering shrubs to promote healthy growth and future blooming. Proper pruning techniques can help shape the shrub, remove dead or damaged branches, and encourage new growth. Here are some essential tips to keep in mind:
- Timing is key: Spring-flowering shrubs should be pruned right after they finish blooming. This allows them to recover and set new buds for the following year’s blooms. Pruning too late can result in cutting off new growth and reducing the number of flowers.
- Remove dead or diseased wood: Start by inspecting the shrub for any dead or diseased branches. These should be cut back to healthy wood, using clean, sharp pruning shears. Removing these branches will prevent the spread of disease and improve the overall health of the shrub.
- Shape for aesthetics and airflow: As you prune, consider the desired shape of your shrub. Trimming back long, leggy branches can help create a more compact and visually appealing form. Additionally, thinning out the shrub by selectively removing some branches can improve airflow, reducing the risk of disease.
- Prune lightly: Avoid excessive pruning, as this can stress the shrub and inhibit its growth. Instead, focus on selective and minimal pruning. Aim to remove no more than one-third of the shrub’s total growth each year.
Remember, pruning should be done with care and precision to avoid damaging the shrub. If you’re unsure about the specific pruning needs of your spring-flowering shrubs, consult a gardening expert or refer to reliable gardening resources. Happy pruning!
Expert Tip: Using the Right Tools
When pruning your spring-flowering shrubs, it’s essential to use the right tools for the job. Invest in a good pair of sharp, bypass pruning shears for clean cuts without crushing the stems. If you’re dealing with thicker branches, a pair of loppers can come in handy. Always keep your tools clean and sharp to ensure efficient pruning and reduce the risk of spreading diseases between plants.
| Pruning Tool | Best Used For |
|---|---|
| Hand Pruners | Small branches and twigs |
| Loppers | Thicker branches (up to 2 inches in diameter) |
| Pruning Saw | Large branches and woody growth |
“Pruning is an essential practice for maintaining the health and appearance of your spring-flowering shrubs. By following proper techniques and using the right tools, you can promote vigorous growth and ensure a bountiful display of blooms in the seasons to come.” – Gardening Expert
Choosing the Right Manure for Your Soil
When it comes to fertilizing your garden, choosing the right manure is crucial for optimal soil health and plant growth. The type of manure you use can greatly impact the fertility of your soil, so it’s important to make an informed decision. Organic gardening practices prioritize the use of natural and sustainable fertilizers, and manure is a popular choice. However, not all manure is created equal, and there are a few factors to consider when selecting the right one for your garden.
Table 1: Comparison of Different Types of Manure
| Type of Manure | Nutrient Content | Curing Time | Recommended Application |
|---|---|---|---|
| Horse Manure | Rich in nitrogen | 6-12 months | Compost before use |
| Cow Manure | Well-balanced nutrients | 6-12 months | Compost before use |
| Chicken Manure | High in nitrogen | 3-6 months | Compost before use |
As shown in Table 1, different types of manure have varying nutrient content and curing times. Horse and cow manure are rich in nitrogen and require a longer curing time of 6-12 months. Chicken manure, on the other hand, is high in nitrogen but only needs to cure for 3-6 months. It’s important to compost manure before applying it to your garden beds to avoid burning your plants with excessive nitrogen.
Quote: “The type of manure you use can greatly impact the fertility of your soil.”
Benefits of Using Well-Cured Manure
Using well-cured manure offers several benefits for your garden. Firstly, it improves soil structure by adding organic matter, making it easier for plants to access nutrients and water. Secondly, it enhances soil fertility by replenishing essential nutrients like nitrogen, phosphorus, and potassium. Lastly, well-cured manure promotes beneficial microbial activity in the soil, improving overall soil health.
By selecting the right manure and allowing it to cure properly, you can ensure that your garden maintains optimal soil health, leading to healthy and thriving plants.

Providing Adequate Sunlight for Your Plants
Proper sunlight exposure is crucial for the health and growth of your plants. Understanding their light requirements is key to ensuring they thrive in your garden. Some plants thrive in full sun, while others prefer partial or even full shade. It’s important to identify the light needs of each plant and provide them with the appropriate amount of sunlight.
When planning your garden, take note of the sun exposure in different areas throughout the day. Observe how the sunlight moves across your yard and determine which spots receive the most and least amount of light. This will help you decide where to place your plants for optimal growth.
For plants that require full sun, aim to provide them with at least six hours of direct sunlight per day. This means placing them in areas that receive the most sunlight, such as south-facing spots. On the other hand, plants that prefer shade should be positioned in areas with filtered or indirect sunlight, such as under trees or near buildings.
To ensure your plants receive the right amount of sunlight, consider using shade cloth or plant shade-loving varieties in areas with intense sunlight. Additionally, monitor the growth and health of your plants regularly. If you notice signs of sunburn or stunted growth, it may be a sign that they are not receiving enough or too much sunlight.

“Proper sunlight exposure is crucial for the health and growth of your plants.”
Summary:
- Understand the light requirements of your plants for optimal growth.
- Observe sun exposure in different areas of your garden.
- Provide at least six hours of direct sunlight for plants that require full sun.
- Position shade-loving plants in areas with filtered or indirect sunlight.
- Monitor the growth and health of your plants to ensure they are receiving the right amount of sunlight.
| Plant Type | Light Requirements |
|---|---|
| Sun-loving plants | Full sun (at least 6 hours of direct sunlight per day) |
| Partial shade plants | Filtered or indirect sunlight (2-4 hours of direct sunlight per day) |
| Shade-loving plants | Minimal direct sunlight (less than 2 hours per day) |
Effective Strategies for Weed Control
Keeping weeds at bay is essential for maintaining a tidy and healthy garden. Discover effective strategies for weed control in this section. One of the most common methods is hand-weeding, which involves manually removing weeds from the root. It’s important to wear gardening gloves to protect your hands and ensure you grasp the weed as close to the root as possible. This method is particularly effective for small gardens or when dealing with a few isolated weeds.

Hoeing is another effective technique for weed control. Using a garden hoe, gently scrape the soil surface to disrupt the weed growth. This method is especially useful for larger gardens or areas with high weed density. It’s important to hoe when the soil is moist, as this makes it easier to uproot the weeds. Hoeing is best done in the morning or late afternoon to avoid disturbing beneficial insects that may be active during the day.
Prevention is Key
- Regularly inspect your garden for signs of weed growth and remove them promptly.
- Apply a layer of mulch to suppress weed germination and growth.
- Consider planting ground covers or using landscaping fabric to prevent weeds from taking hold.
- Practice proper watering techniques to promote strong and healthy plants, allowing them to outcompete weeds for resources.
“The key to successful weed control is a combination of proactive prevention and consistent maintenance.”
By following these effective strategies and incorporating them into your gardening routine, you can keep weeds under control and enjoy a thriving garden full of healthy plants.
Dividing Hostas for Healthy Growth
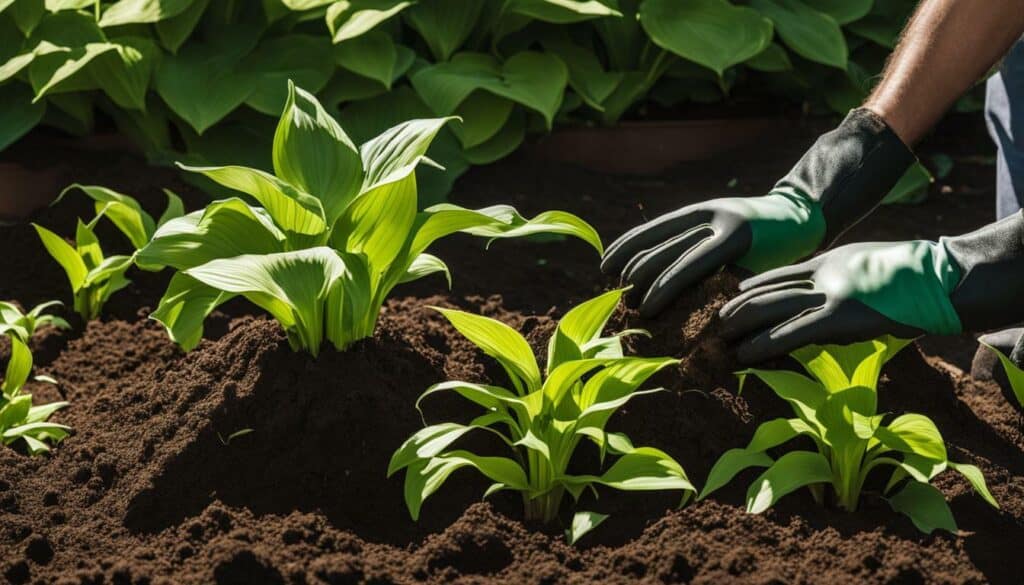
Dividing hostas is a great way to ensure their health and vigor. By dividing them, you can promote new growth and prevent overcrowding. In this section, I will guide you on when and how to divide your hostas, so you can enjoy a thriving garden.
In general, the best time to divide hostas is in the spring, just as the new shoots start to emerge. This allows the divided plants to establish themselves before the hot summer months. However, if you missed the spring window, dividing hostas in the fall before the soil freezes solid is also an option.
To divide your hostas, start by preparing the area where you will transplant them. Loosen the soil and add organic matter to improve drainage and fertility. Carefully dig up the entire clump of hostas, being mindful not to damage the roots. Once the clump is out of the ground, use a sharp knife or garden spade to separate it into smaller sections. Each section should have at least one or two shoots and a healthy root system. Make sure to replant the divided hostas at the same depth they were originally growing.
| Benefits of Dividing Hostas | How to Divide Hostas |
|---|---|
| – Promotes new growth | – Choose the right time to divide |
| – Prevents overcrowding | – Prepare the transplant area |
| – Increases vigor and blooming | – Dig up the clump carefully |
| – Enhances overall plant health | – Separate into smaller sections |
Remember to water the newly divided hostas thoroughly after replanting. This will help them establish their roots in their new location. Keep the soil consistently moist but not waterlogged during the first few weeks. Once the plants are established, regular watering and mulching will help them thrive.
Dividing hostas is a simple and rewarding process, and it can breathe new life into your garden. By following these guidelines and giving your hostas the care they need, you’ll be rewarded with healthy, vibrant plants that will enhance the beauty of your garden.
Optimizing Tomato Ripening Temperature
To enjoy juicy and flavorful tomatoes, it’s important to know the optimal temperature for ripening. Discover the ideal conditions for ripening tomatoes in this section.
Tomatoes are known for their delicious flavors, and the key to achieving perfectly ripe tomatoes lies in understanding the right temperature conditions. When the temperature is too low, tomatoes may not ripen properly and can remain hard and tasteless. On the other hand, excessive heat can lead to overripening and mushy textures.
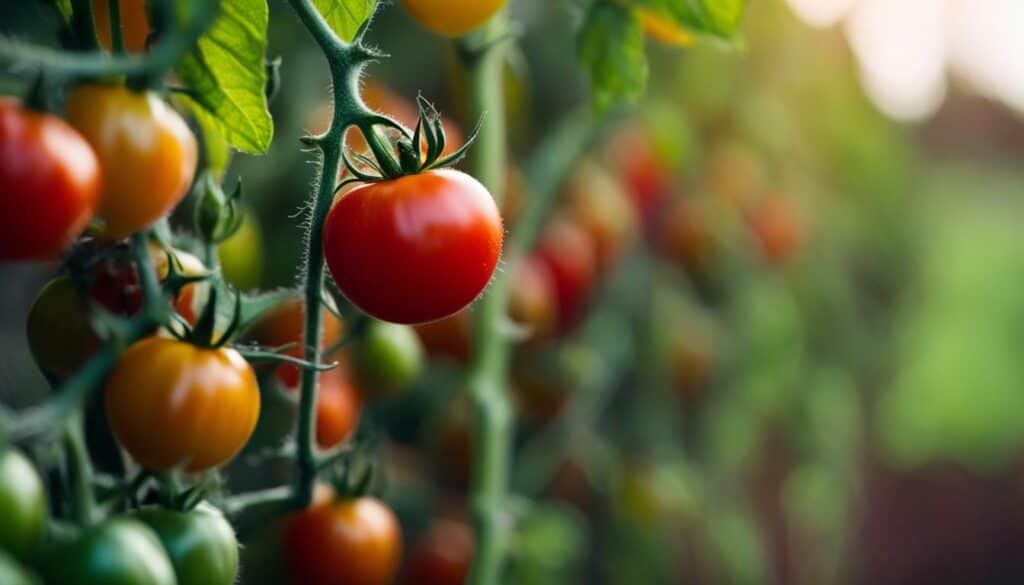
The optimal temperature range for ripening tomatoes is between 68°F (20°C) and 77°F (25°C). Within this range, tomatoes undergo the enzymatic processes necessary for the development of their distinct flavors and vibrant colors. The ripening process is most efficient at around 75°F (24°C), where the enzymes work optimally to convert starches into sugars, resulting in the sweet and rich flavors we love.
| Temperature Range (°F) | Ripening Effect |
|---|---|
| Below 60°F (15°C) | Slow ripening, poor flavor development |
| 60°F (15°C) – 68°F (20°C) | Slow but acceptable ripening |
| 68°F (20°C) – 77°F (25°C) | Optimal ripening range |
| Above 77°F (25°C) | Accelerated ripening, potential for overripening |
It’s important to note that these temperature ranges apply to the ripening stage of tomatoes. During the growing phase, tomatoes thrive in temperatures around 70°F (21°C) to 75°F (24°C) for optimal growth and fruit development.
By maintaining a consistent temperature within the ideal range, you can ensure that your tomatoes ripen evenly and develop their full flavor potential. Keep in mind that variations in temperature can impact ripening times, so it’s helpful to monitor the weather conditions and adjust accordingly.
With this information in mind, you’ll be able to create the perfect environment for your tomatoes to ripen to perfection. Remember, the right temperature is just one piece of the puzzle. Providing adequate water, nutrients, and sunlight are equally important factors in cultivating healthy and delicious tomatoes.
Maintaining Proper Drainage and Watering Techniques
To ensure the health and vitality of your garden, it’s important to maintain proper drainage and provide adequate water to your plants. Learn how in this section.
Proper drainage is crucial for preventing waterlogged soil, which can lead to root rot and other plant diseases. One way to improve drainage is by incorporating organic matter, such as compost or peat moss, into your soil. These amendments help to loosen compacted soil, allowing water to flow freely. Additionally, you can create raised beds or use containers with drainage holes to ensure excess water drains away.
When it comes to watering, different plants have varying needs. It’s essential to understand the watering requirements of your specific plants to avoid over or under watering. One way to determine when to water is by checking the moisture level of the soil. Stick your finger about an inch into the soil, and if it feels dry, it’s time to water. Remember to water deeply and thoroughly, allowing the water to penetrate the root zone.
Furthermore, it’s important to water your garden at the right time of day. Watering in the early morning or late afternoon is ideal, as it allows the plants to absorb the moisture before the heat of the day. Avoid watering in the evening, as prolonged dampness can promote fungal diseases.
Key Points:
- Incorporate organic matter to improve drainage
- Use raised beds or containers with drainage holes
- Check soil moisture before watering
- Water deeply and thoroughly
- Water in the early morning or late afternoon
| Plant | Watering Frequency |
|---|---|
| Succulents | Once every 2-3 weeks |
| Vegetables | 1-2 inches of water per week |
| Herbs | When the top inch of soil feels dry |
| Annual Flowers | 1-2 inches of water per week |
“Proper drainage and watering are essential for a successful garden. By providing adequate water and ensuring excess moisture drains away, you’ll create an optimal environment for your plants to thrive.”
Remember, every garden is unique, and it may take some trial and error to find the perfect balance of drainage and watering for your specific plants. Stay observant and make adjustments as needed to keep your garden healthy and flourishing.

Essential Gardening Tools for Every Gardener
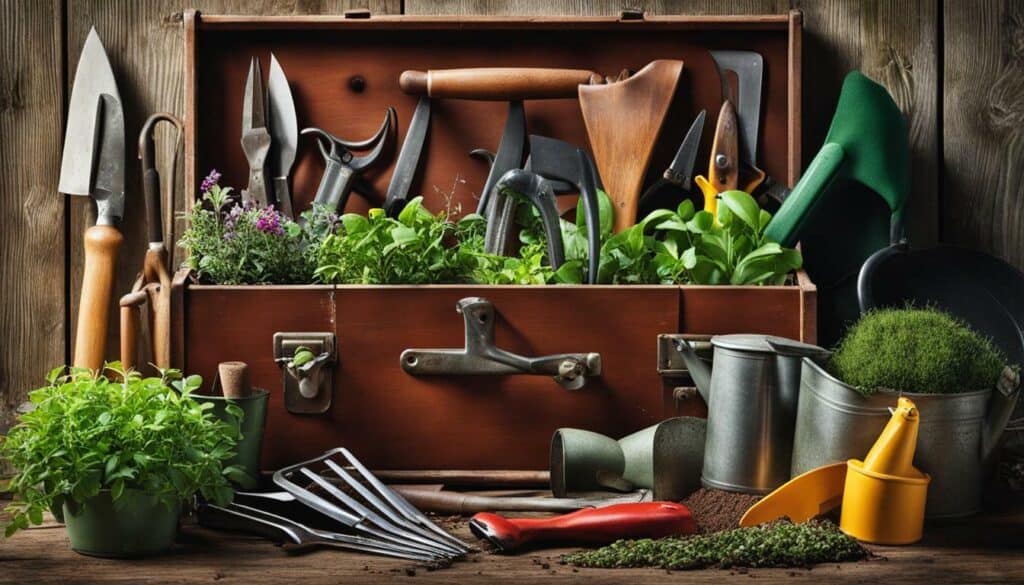
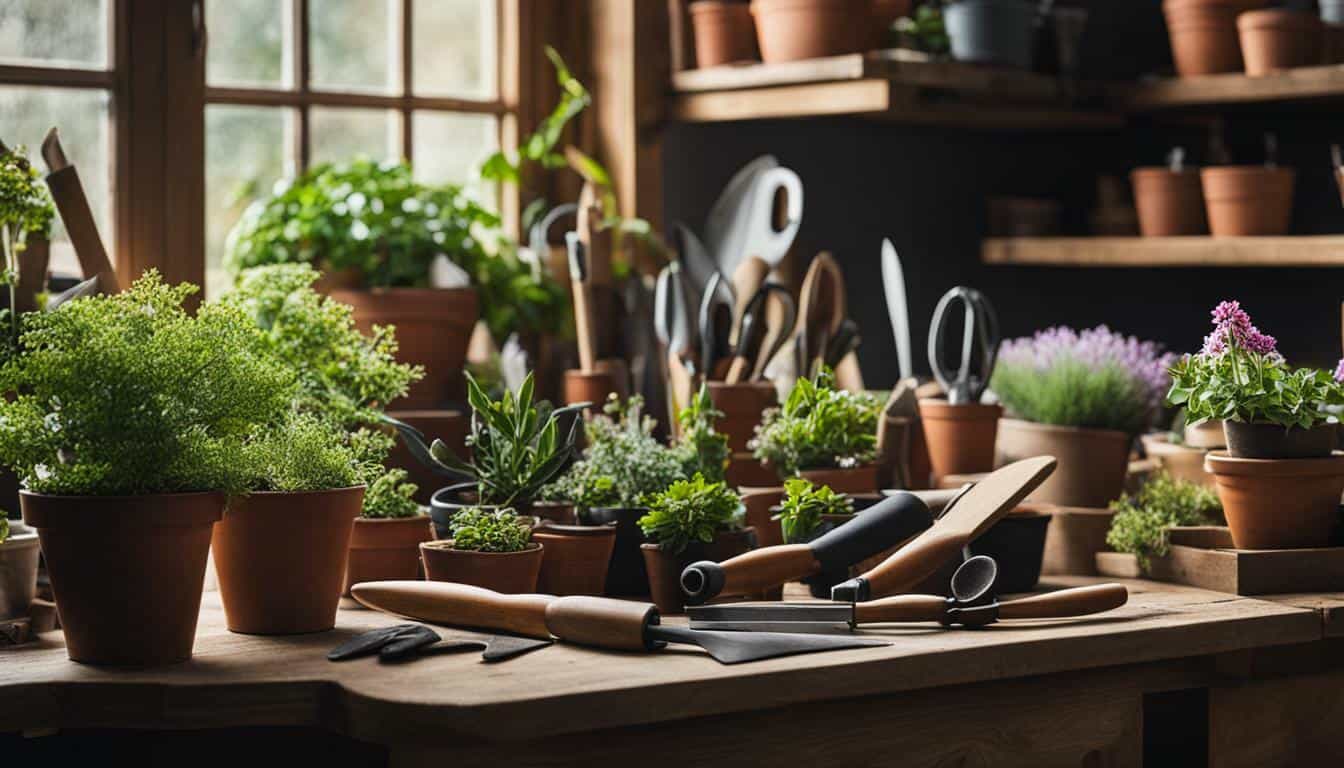
From digging to pruning, having the right gardening tools can make all the difference in maintaining a beautiful and thriving garden. Whether you’re a beginner or an experienced gardener, having a well-equipped toolbox is essential for efficient garden maintenance. Here are some essential gardening tools that every gardener should have:
Digging Tools:
1. Garden Spade: A sturdy garden spade is necessary for digging planting holes, edging beds, and turning soil. Look for one with a sharp, stainless steel blade and a comfortable handle.
2. Trowel: A handheld trowel is perfect for transplanting seedlings and small plants. Choose one with a narrow, pointed blade for precise digging.
Pruning Tools:
1. Pruning Shears: Also known as secateurs, pruning shears are used for trimming and shaping plants. Look for a pair with a bypass cutting action, which provides clean cuts without damaging the plants.
2. Loppers: Loppers are ideal for pruning larger branches and stems. Choose a pair with a ratchet mechanism for extra cutting power.
Maintenance Tools:
1. Garden Gloves: Protect your hands from thorns, prickly plants, and dirt with a pair of sturdy gardening gloves. Look for ones made of breathable material that offer a good grip.
2. Garden Fork: A garden fork is useful for aerating soil, turning compost, and lifting plants. Choose one with strong tines and a comfortable handle.
Remember, having the right gardening tools not only makes your gardening tasks easier but also ensures that you can maintain your garden properly. Invest in high-quality tools that are durable and comfortable to use. By having these essential gardening tools, you’ll be well-equipped to handle any task and keep your garden looking its best.
Conclusion
Congratulations! Armed with these expert gardening tips and tricks, you are now equipped to create and maintain a flourishing garden.
First and foremost, understanding your USDA Hardiness Zone is crucial for successful planting. By knowing your zone, you can select and plant the right plants that are suitable for your specific climate. This will greatly increase your chances of success and ensure that your garden thrives.
Next, proper pruning techniques are essential for maintaining healthy shrubs. When it comes to spring-flowering shrubs, it’s best to prune them after the blooms fade. This will help promote optimal growth and ensure that your shrubs continue to flourish year after year.
When it comes to soil fertility, choosing the right manure is key. Make sure to select manure that has cured for at least six months, as this will provide the necessary nutrients for your plants without burning them. This organic approach will help your garden thrive in a sustainable and natural way.
Another important factor to consider is providing adequate sunlight for your plants. Different plants have varying light requirements, so it’s crucial to understand these needs and ensure they receive the appropriate amount of sunlight. This will promote optimal growth and help your plants reach their full potential.
Furthermore, effective weed control is essential for maintaining a healthy garden. Hand-weeding and hoeing are two effective strategies that can help keep weeds at bay. By regularly removing weeds, you’ll provide your plants with the space, nutrients, and sunlight they need to thrive.
Additionally, dividing hostas can promote healthy growth and rejuvenation. Spring shoots or fall division are the best times to divide your hostas. By following the proper techniques, you’ll encourage new growth and ensure that your hostas remain vibrant and beautiful.
It’s also important to consider the optimal temperature for ripening tomatoes. By providing the right environmental conditions, you can maximize the flavor and quality of your tomatoes. Additionally, proper drainage and watering techniques are crucial for plant health. Maintaining proper drainage in your garden and watering your plants effectively will help prevent waterlogged roots and ensure that your plants receive the moisture they need.
Finally, having the right gardening tools is essential for maintaining your garden. From a sturdy pair of gloves to a quality set of pruners, these tools will make your gardening tasks easier and more efficient. By investing in the right tools, you’ll be well-prepared to tackle any gardening challenge that comes your way.
In conclusion, armed with the expert advice and guidance provided in this article, you now have the tools and knowledge to create and maintain a beautiful garden. Whether you’re interested in backyard gardening, vegetable gardening, or flower gardens, these tips and tricks will help you achieve success. Happy gardening!
What are Some Practical Tips for a Beginner Gardener?
Practical advice for gardening beginners includes starting with easy-to-grow plants, ensuring proper sunlight and water for each plant, and maintaining a consistent watering schedule. It is also important to learn about soil conditions and fertilizers suitable for different plants. Regularly removing weeds and dead plants, as well as investing in quality gardening tools, can greatly enhance the gardening experience.
FAQ
Q: How do I determine my USDA Hardiness Zone?
A: You can determine your USDA Hardiness Zone by using an online zone map or consulting with your local agricultural extension office.
Q: When should I prune my spring-flowering shrubs?
A: It’s best to prune spring-flowering shrubs after the blooms fade. This allows the shrubs to retain their energy and bloom again the following year.
Q: What type of manure should I use in my soil?
A: When choosing manure for your soil, opt for well-aged or composted manure that has cured for at least six months. This ensures that the nutrients are readily available for plant uptake and reduces the risk of burning your plants.
Q: How can I provide the right amount of sunlight for my plants?
A: Different plants have different light requirements. Pay attention to the sunlight needs of each plant and position them accordingly. Some plants thrive in full sun, while others prefer partial shade.
Q: What is the best approach for controlling weeds?
A: Hand-weeding and hoeing are effective approaches for weed control. Regularly inspect your garden and remove any weeds manually or use a hoe to cut them off at the soil surface.
Q: When is the best time to divide hostas?
A: You can divide hostas in the spring as new shoots appear or in the fall before the soil freezes solid. Dividing hostas helps prevent overcrowding and promotes healthy growth.
Q: What is the optimal temperature for ripening tomatoes?
A: Tomatoes ripen best when temperatures range between 70 and 75 degrees Fahrenheit. Higher temperatures can cause the fruit to ripen unevenly or become mushy.
Q: How can I ensure proper drainage and watering for my plants?
A: To maintain proper drainage, ensure that your garden has well-draining soil and consider using raised beds or containers. When watering, aim to provide consistent moisture without overwatering. Monitor the soil moisture levels and adjust watering accordingly.



Leave a Reply